Emulating joypads
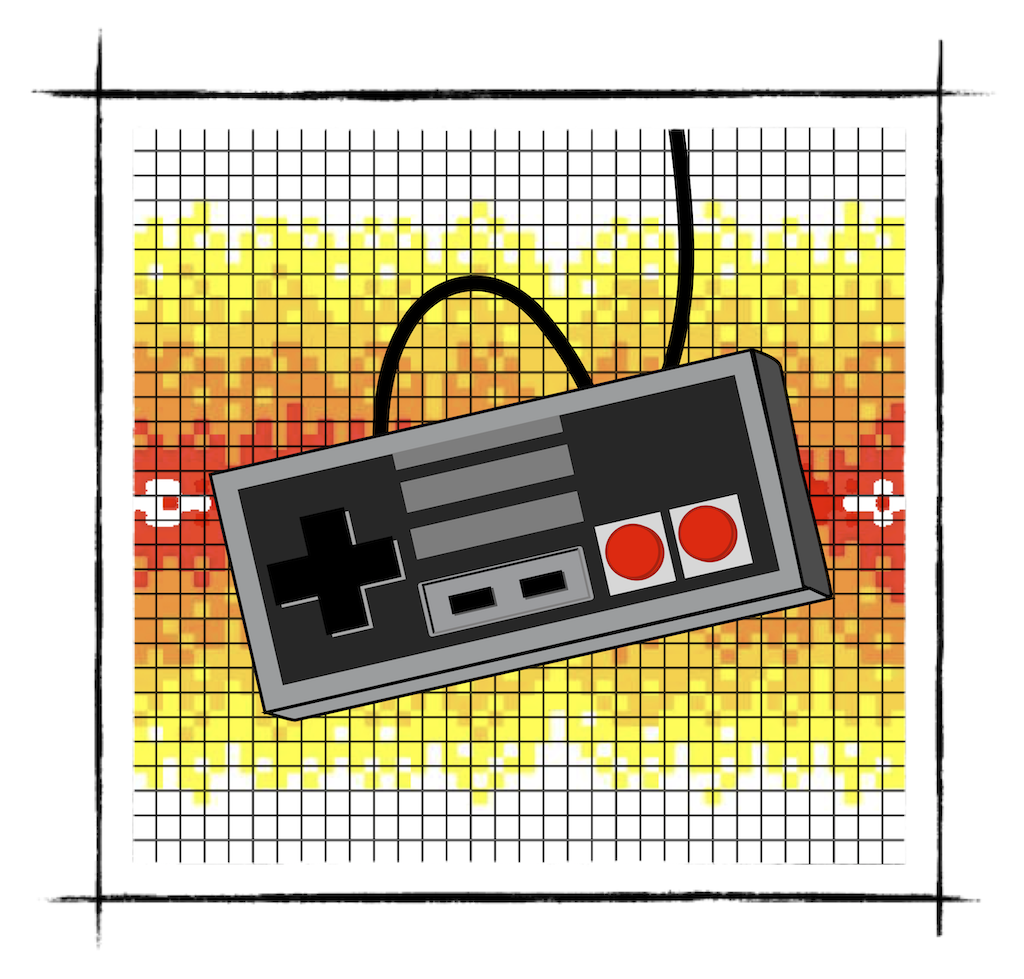
NES and Famicom supported a variety of controllers:
We will emulate joypads as it's the most common and the easiest device to emulate
Two joypads are mapped to 0x4016 and 0x4017 CPU address space, respectively. The same register can be used for both reading and writing. Reading from a controller reports the state of a button (1 - pressed, 0 - released). The controller reports a state of one button at a time. To get the state of all buttons, the CPU has to read the controller register 8 times.
The order of reported Buttons is as follows:
A -> B -> Select -> Start -> Up -> Down -> Left -> Right
After reporting the state of the button RIGHT, the controller would continually return 1s for all following read, until a strobe mode change.
The CPU can change the mode of a controller by writing a byte to the register. However, only the first bit matters.
The controller operates in 2 modes:
- strobe bit on - controller reports only status of the button A on every read
- strobe bit off - controller cycles through all buttons
So the most basic cycle to read the state of a joypad for CPU:
- Write 0x1 to 0x4016 (strobe mode on - to reset the pointer to button A)
- Write 0x00 to 0x4016 (strobe mode off)
- Read from 0x4016 eight times
- Repeat
Ok, so let's sketch it out.
We need 1 byte to store the status of all buttons:
#![allow(unused)]
fn main() {
bitflags! {
       // https://www.nesdev.org/wiki/Controller_reading_code
       pub struct JoypadButton: u8 {
           const RIGHT             = 0b10000000;
           const LEFT              = 0b01000000;
           const DOWN              = 0b00100000;
           const UP                = 0b00010000;
           const START             = 0b00001000;
           const SELECT            = 0b00000100;
           const BUTTON_B          = 0b00000010;
           const BUTTON_A          = 0b00000001;
       }
}
}
We need to track:
- strobe mode - on/off
- the status of all buttons
- an index of a button to be reported on the next read.
#![allow(unused)]
fn main() {
pub struct Joypad {
   strobe: bool,
   button_index: u8,
   button_status: JoypadButton,
}

impl Joypad {
   pub fn new() -> Self {
       Joypad {
           strobe: false,
           button_index: 0,
           button_status: JoypadButton::from_bits_truncate(0),
       }
   }
}
}
Then we can implement reading from and writing to a controller:
#![allow(unused)]
fn main() {
impl Joypad {
  //...
   pub fn write(&mut self, data: u8) {
       self.strobe = data & 1 == 1;
       if self.strobe {
           self.button_index = 0
       }
   }

   pub fn read(&mut self) -> u8 {
       if self.button_index > 7 {
           return 1;
       }
       let response = (self.button_status.bits & (1 << self.button_index)) >> self.button_index;
       if !self.strobe && self.button_index <= 7 {
           self.button_index += 1;
       }
       response
   }
}
}
Don't forget to connect the joypad to the BUS and map it for address 0x4016.
One last step is to adjust our game loop to update the status of the joypad depending of a keyboard button being pressed or released on the host machine:
fn main() {
   //... init sdl2
   //... load the game
   let mut key_map = HashMap::new();
   key_map.insert(Keycode::Down, joypad::JoypadButton::DOWN);
   key_map.insert(Keycode::Up, joypad::JoypadButton::UP);
   key_map.insert(Keycode::Right, joypad::JoypadButton::RIGHT);
   key_map.insert(Keycode::Left, joypad::JoypadButton::LEFT);
   key_map.insert(Keycode::Space, joypad::JoypadButton::SELECT);
   key_map.insert(Keycode::Return, joypad::JoypadButton::START);
   key_map.insert(Keycode::A, joypad::JoypadButton::BUTTON_A);
   key_map.insert(Keycode::S, joypad::JoypadButton::BUTTON_B);


   // run the game cycle
   let bus = Bus::new(rom, move |ppu: &NesPPU, joypad: &mut joypad::Joypad| {
       render::render(ppu, &mut frame);
       texture.update(None, &frame.data, 256 * 3).unwrap();

       canvas.copy(&texture, None, None).unwrap();

       canvas.present();
       for event in event_pump.poll_iter() {
           match event {
               Event::Quit { .. }
               | Event::KeyDown {
                   keycode: Some(Keycode::Escape),
                   ..
               } => std::process::exit(0),


               Event::KeyDown { keycode, .. } => {
                   if let Some(key) = key_map.get(&keycode.unwrap_or(Keycode::Ampersand)) {
                       joypad.set_button_pressed_status(*key, true);
                   }
               }
               Event::KeyUp { keycode, .. } => {
                   if let Some(key) = key_map.get(&keycode.unwrap_or(Keycode::Ampersand)) {
                       joypad.set_button_pressed_status(*key, false);
                   }
               }

               _ => { /* do nothing */ }
           }
       }
   });

   //...
}
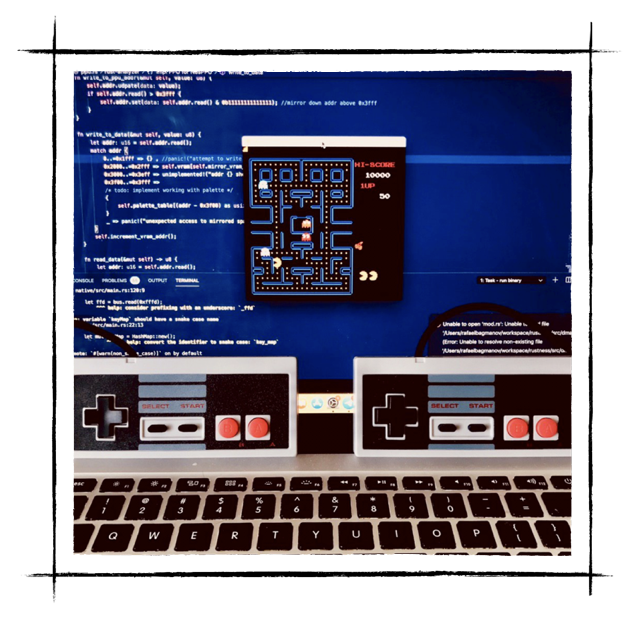
And here we are. Now we can play NES classics, using a keyboard. If you want to have a little bit of geeky fun, I highly recommend buying USB replicas of original NES controllers on Amazon.
I'm not affiliated, I got these ones
SDL2 fully supports joysticks, and with just a tiny adjustment in our game loop, we can have almost perfect NES experience.
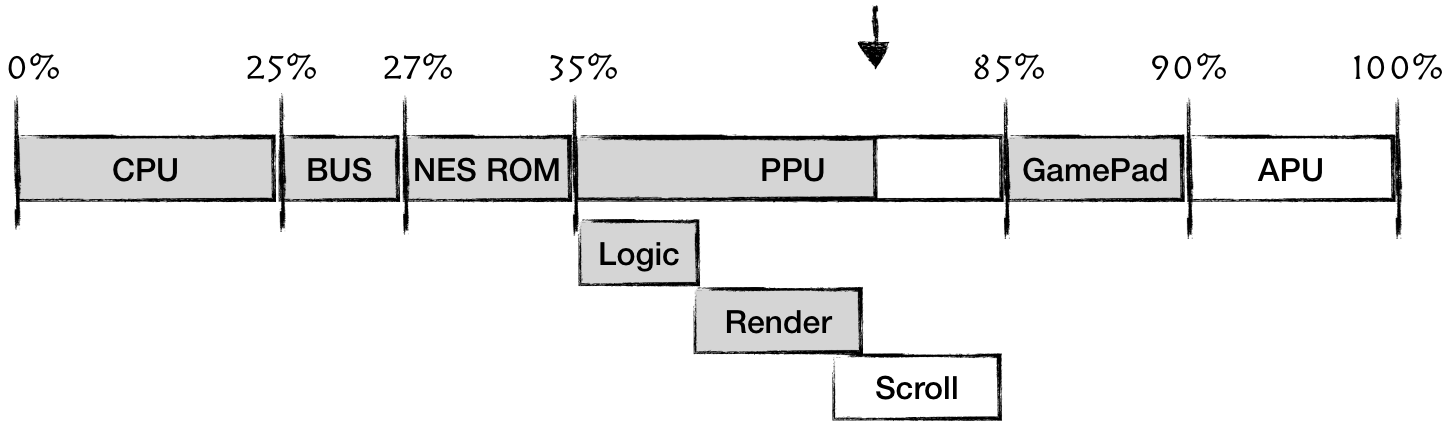
Ok, we've made quite a bit of progress here. The two major pieces left are:
- Support for scrolling - we will enable gaming into platformers.
- Audio Processing Unit - to get those sweet NES chiptunes back in our lives.
The full source code for this chapter: GitHub